
Leonardo AI tutorial by a Chinese YouTuber 99
- training and datasets (3:30)
- upload 20 images of yourself
- can be in different dimensions
- can be a mix of headsets / profile / half-body shots, etc
- face should be clearly visible, not too small
- create new dataset (4:40)
How to create a new image or style of yourself (6:00)
- go to Home to select an image or a style that you like
- click on the image and select “image2image”
- under stable diffusion (under prompt) > select “select custom model”
- select the collection you previously created (images of yourself)
- View
- generate with this model
- finetuned model (under prompt) > you see name of your photo collection
- hit “generate”
Fix image dimension first if you want to copy someone else’s style!! (10:35)
- otherwise your face will be distorted!
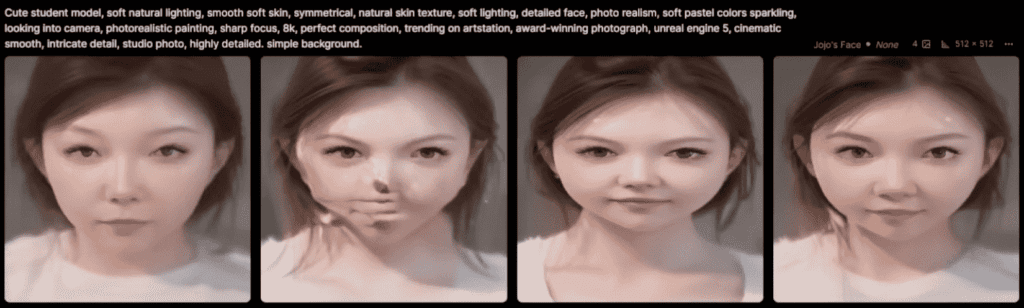
When your face is distorted (6:55-7:45)
- change image dimension
- lower guidance scale (more like the original photo)
Upscale (8:15)
- get AI to create more details of the image
- change image dimension
- lower guidance scale (more like the original photo)
Quickly generate a lot of images similar to those created by other creators (12:10)
- click on the image
- hit “image2image” (next to image)
- hit “generate” (right)
How to check out images you have generated? (13:35)
- Trained models (select from collections)
- AI image generation (left)
- Under Finetuned Model > Select Custom Model
- View
- generate with this model
- generate
Merging two images with AI Canvas (14:00)
- Upload images
- Eraser icon
- “mask only” to control size of eraser
- mark the area you want to erase
- Snap icon (14:25)
- move the frame to the area where you want an image generated
- add a prompt
- e.g. wall, window, forest, etc
Image extension (14:00)
- the frame should overlap some part of the image
- The smaller the area you want the AI to generate, the less weird the results